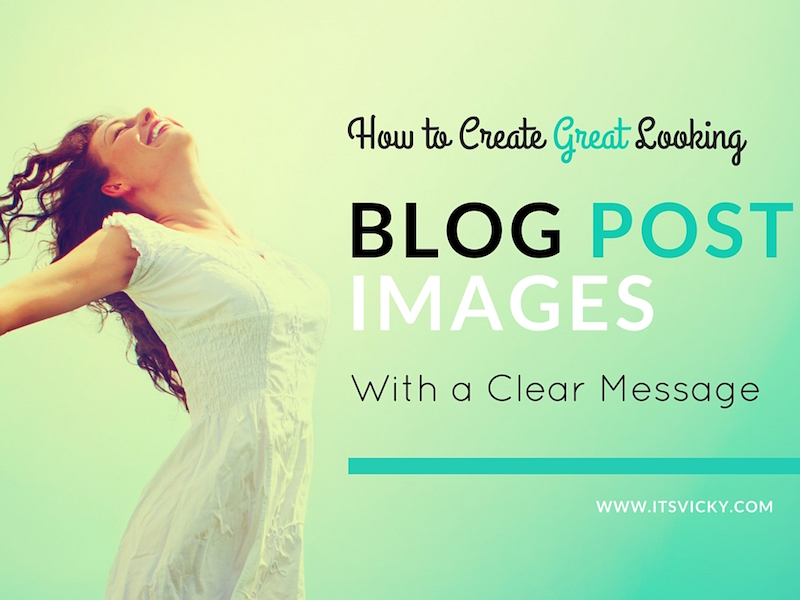
 Fridays with Vicky 62
Using nice images with a clear message for your blogposts will make you stick out from the crowd. Not only does it look good but images also connect with people.
Things we like we want to share in this digital world. There are many socialmedia platforms based on images. Instagram, Snapchat and Pinterest just to mention a few.
These are all great platforms to share nice looking images. A great way to get the message about your blog out there in-front of more people.
The last few months I’ve been very active on Twitter, sharing my blog post images and I have gotten great respons. Many leave positive comments on the images, it also create brand awareness and drive traffic to my blog.
I’ve been asked how I create the images, so in this post I will be sharing that with you. Where to get images and how to be creative with them.
I’m not a designer but enjoy creating blog post images and have learned a few things while doing it, that’s what I share below.
Where to Get Your Images
Take Your Own Images
Depending on what kind of images you need, taking your own images is a great solution. Most of us have a camera or at least a smartphone, that takes great pictures, these are pictures that you own and can use how ever you want.
Free Images
There are plenty of places that claim you can download images for free. They might be free but make sure that you read the fine print. Know the rules and directions, if you have to give credit to the photographer when using the image, for example. Very important so you don’t get in trouble with the image owner, it can be costly.
Purchase Images
Personally I prefer to purchase my images, that way I get great looking images and I know how I’m allowed to use them. I use a site called dollarphotoclub.com it’s a membership site, where you pay a monthly fee and can download how ever many images you sign up for monthly.
Other places to purchase images would be shutterstock and footolia.
Screen Capture
Below you will see a couple of screen capture images, this is another great way to get images. There are many tools to use to take a screen capture, jing, droplr or even just print screen on your computer.
I use an iMac to take a screen capture hold down shift, command and 4.
How to Be Creative with Your Images
When you have your image, you want to make it personal, maybe add the title of your blog post and your blog url. There are many different tools you can use to do this and there is probably one installed on your computer right now.
The one tool I prefer using to make my pictures look great, with a clear message, is Canva.
Canva is a great free tool, that will allow you to do pretty much anything and everything you want with your image. In fact they have images there that you can use, both free and paid ones.
Let me walk you through how I created the image in the beginning of this post.
Go to Canva and create an account if you don’t have one. It’s free to sign up.
At the top of the site you will see different versions of images that you can design. Pick the one that will work for you.
For my blog posts I use ”presentation”. They are a little large, 1024px x 768px, but I resize them before I submit them to my site. I prefer 800px x 600 px.
If you want a specific demension you can click ”use custome dimensions”.
If you click the + you will get even more design options.
The reason I like using ”presentation” is that it comes with some pre made suggestions. You can take use of those and rework them to your liking. Most of the times I will pick a suggestion but the result looks nothing like it lol.
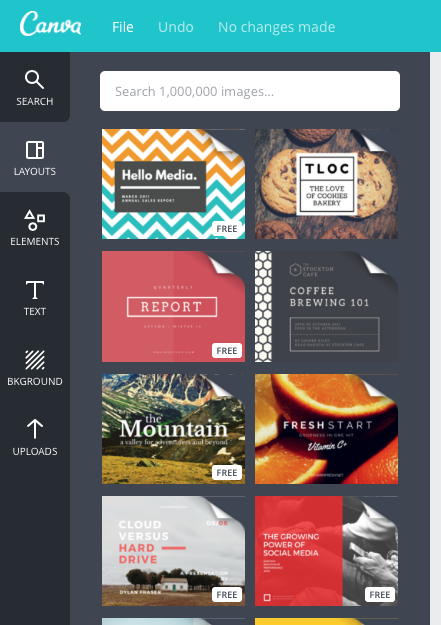
I like this one so will take use of it.
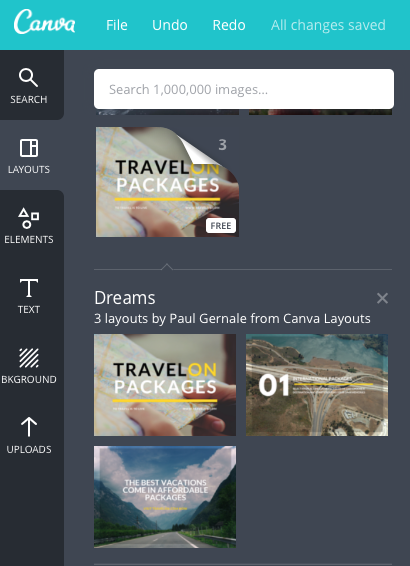
I want a different background image, but like the overall layout. I upload a different image was thinking of something related to blogging, but think I will go with a happy woman, she is so happy her blog image looks great lol.
After I upload the image I drag it to my image screen, where I can adjust it and make sure it fits the image size. I also have to move it ”back” so that the text is showing.
Now I would like to change the text. I click the ”text” tab in the left and that brings up many different alternatives to use. You can adjust size, color and font to your liking.
You can also add more text if needed.
I decide to add some text, change the font and the color. Move my text to the right of the happy woman, and I think it’s starting to shape up.
I use the filter option to see if there are better options, but decide to go with normal.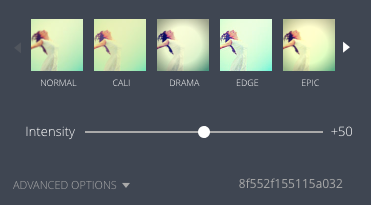
After adding a new image and playing around with text, color and font this is the result.
BEFORE

AFTER
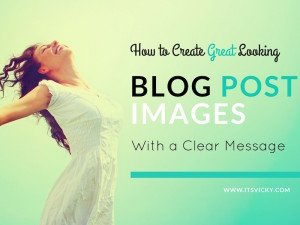
Looks completely different but the before image gave you a good foundation to start with.
A Few Things To Think About
- Have fun with it, try different things some will work some will not.
- Keep it simple, that allows for the message to stick out as well.
- Always include your url to your website.
Do you use Canva? Feel free to share your tips and ideas of creating blog post images below in the comment section.
Have a creative day,

Lovely post vicky and thanks for sharing I use canva but since lately I have been hearing towards stock photos and using pick monkey to edit them and adding my texts. Have a great night
Hi Kerona,
I do use my own stock photos that I upload to Canva.
I’ve heard of pic monkey but never used them, how do you like them?
Vicky
Do you ever have issues with Canva freezing? I love using the site, but that happens on occasion. Thanks for sharing about the presentation option. I’ve always used the blog post or Facebook post template. I always find your posts so helpful!
Hi Diedre,
I have not had an issue with Canva freezing. Sorry that you have had issues with that.
Glad you like the posts and find them helpful 🙂
Vicky
I was wondering how you created your images. Now I know! I’ll have to give Canva a try.
Thanks for a great post!
🙂 Yes now you know!
Canva is awesome, give it a try!
Canva is my favourite too. I have been using it since I started blogging it’s the best tool. I have made some amazing images with it and got a lot of repins in Pinterest….
Thats amazing my pinterest has grown because of Canva.
Richa
AllThatsmom
Hi Richa,
That’s great congratulations!
Yes Canva and Pinterest is a great combination for sure!
Vicky
Hi Vicky
I ‘ll use CANVA
Thank you for presenting it 🙂
It’s a good one!
This article has given me great insights on how to update the pictures I use for my website. Your pictures really tell a story and add value to your brand. I’m taking your advice and signing up to Canva. Using this tool will give my pictures a nice face lift.
Thanks,
Stephanie
Hi Stephanie,
I’m glad you found the article helpful. It is important to have a visual appealing appearance in the blogging world. People relate to images in another way then your written word, so it can greatly impact your brand in a positive way.
Canva is a great tool that I use on a regular basis, try it out and let me know what you think,
Vicky