 “A picture says more than a thousand words” might sound cliché but it’s very true when it comes to online marketing and blogging.
Adding images to your blog or website is visually appealing. It adds another element of connecting with your reader.
But, how to add pictures to WordPress? We’ll get to that. First real quick WHY you should use images.
Why Use Pictures on Your WordPress Blog?
We already mentioned that using images is a great way to connect with your visitors. Sometimes it’s easier to use a picture to explain something than using your words. You’ll see what I mean in the examples in this post.
It’s also great to add pictures to your WordPress blog for the search engines. If you use the image alt text and description section right, it will allow for the search engines to help drive traffic to your site.
Another great reason for using images is social media. With platforms like Pinterest, Instagram and Twitter sharing images have never been easier. Making your images easy to share can drive a lot of traffic to your site.
Let’s get into the “how to” and doing when it comes to WordPress and pictures. In this post we will talk about:
- How to Upload Pictures to WordPress Media Library
- How to Add Image from Media Library to Blog Post
- How to Upload and Add Pictures to WordPress Directly from a Blog Post
- How to Edit an Image In a Post or Page
- How to Delete a Picture in WordPress
Let’s dive in…
How to Upload Pictures to WordPress Media Library
To be able to use images in your WordPress blog you’ll need to first upload them to your site. Save the picture that you want to add to your blog to your computer.
Follow these steps to upload pictures to WordPress:
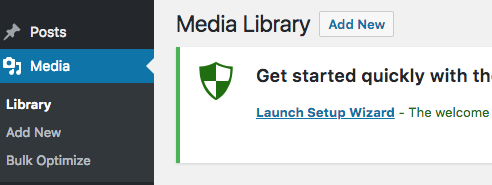
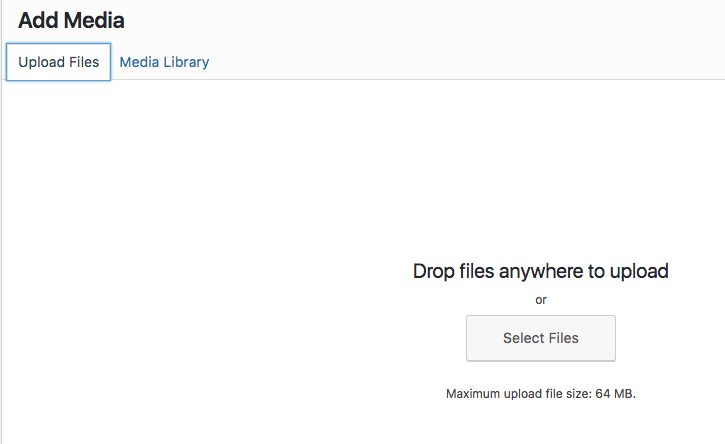
- Go to Media
- Click “Add New”
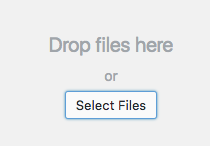
- Now you can either drag and drop your image from your computer desktop or click “Select Files” and choose your image from your files.
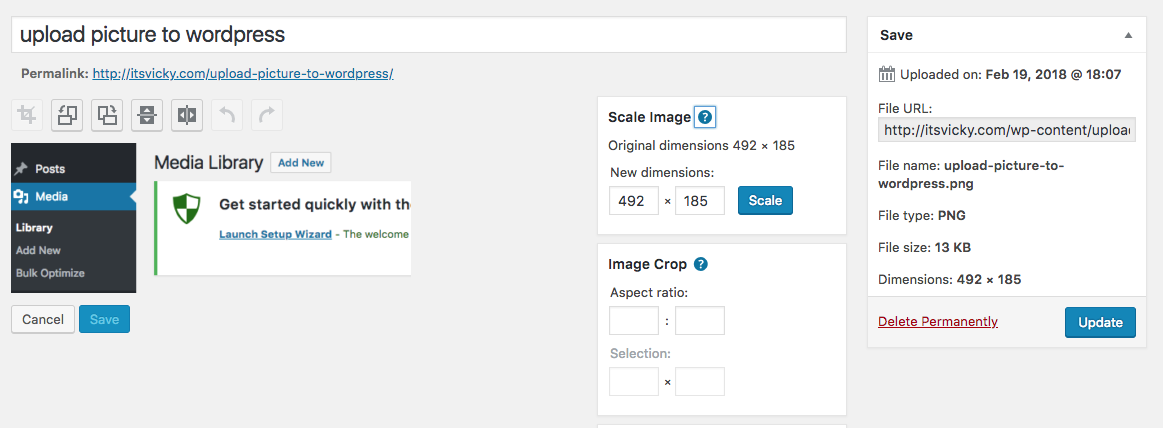
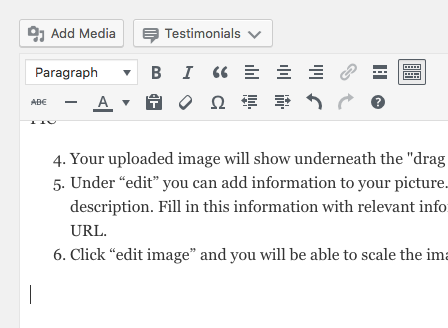
- Your uploaded image will show underneath the “drag and drop” box. You can click “edit” to make changes.
- Under “edit” you can add information to your picture. You can give it a caption an alternative text and a description. Fill in this information with relevant information. Here you’ll also find the file name and file URL.
- Click “edit image” and you will be able to scale the image, crop it and rotate it.
Extra tip: Before you upload your image to WordPress, save it on your computer with a keyword optimized name. It can be very beneficial for SEO to have your keyword in the image file name.
How to Add Image from Media Library to Blog Post
Now when you have the picture in your media library we will add it to a blog post. Follow these steps to add the image to your blog post from the media library:
- Place the cursor where you want your image to show.
- Click “Add Media” and your Media library will show.
3. From here you can pick the wanted image that you want to insert into your post from the Media Library.
4. In the right side, you will see attachment details. You can also edit title caption, alt text and description for the image.
5. You will also see attachment display settings, here you can adjust alignment, you can choose none, left, right or center. You can also choose the wanted size, full size, large, medium or thumbnail size. You can also link your image to an attachment page, custom URL or media file.
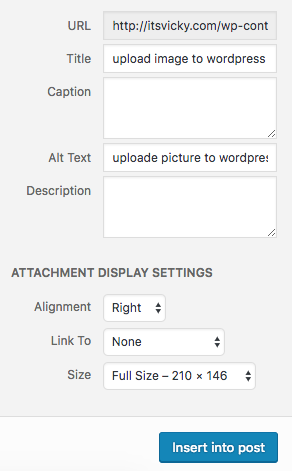
- When you have adjusted the settings to your liking you click “Insert into Post” and your image will show in your blog post with the setting you chose.
How to Upload and Add Pictures to WordPress from a Blog Post
If you are working on your blog post and you want to upload an image without leaving the post you can do so as well, following these steps:
- Place the cursor where you want the image to show.
- Click “Add Media”.
- You can now choose an image that is uploaded to the Media library or click “Upload Files”.
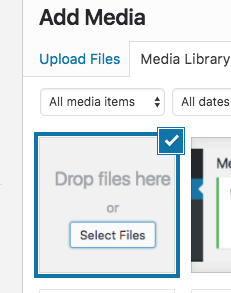
4. Now you can follow the same steps we did when we uploaded to the Media library. Either drag and drop your picture from your computer desktop into the “drop file” section or upload an image file.
5. When the picture is uploaded, make sure it has the blue checkmark.
6. On the right side of the Media library, you will see the same fields we talked about earlier. The title, caption, alt text and description. You can also choose the alignment if you want the image to link somewhere and what size you want to show.
- When you have filled in your wanted information click “Insert into Post” and your image will be added to your blog post. The same goes for pages.
The New and Quick Way to Add an Image to a WordPress Post
The new and quick way is to grab your image on your desktop and drop it right into your blog post without even clicking add media. By doing that it will be added to the media library and you can adjust the settings from there.
How to Edit an Image In a Post or Page
Now we have our image added to our blog post. Maybe we are not completely happy with it and want to make some changes. Let’s look at some adjustments that we can do.
Let’s say we have this image added, a cake pop image celebrating the success of my case study site.

For this example, I want to change the size of the image to a thumbnail. I then want to align it to the right and have text wrap around it. I also want to link it to the relevant case study post. When that link is clicked I want the case study post to show in a new window.
Let’s make the adjustments.
The picture is already added to the blog post, click on the image and this will show:

From here you can quickly change the alignment of the picture. Click the pen and you will be able to edit the image details.
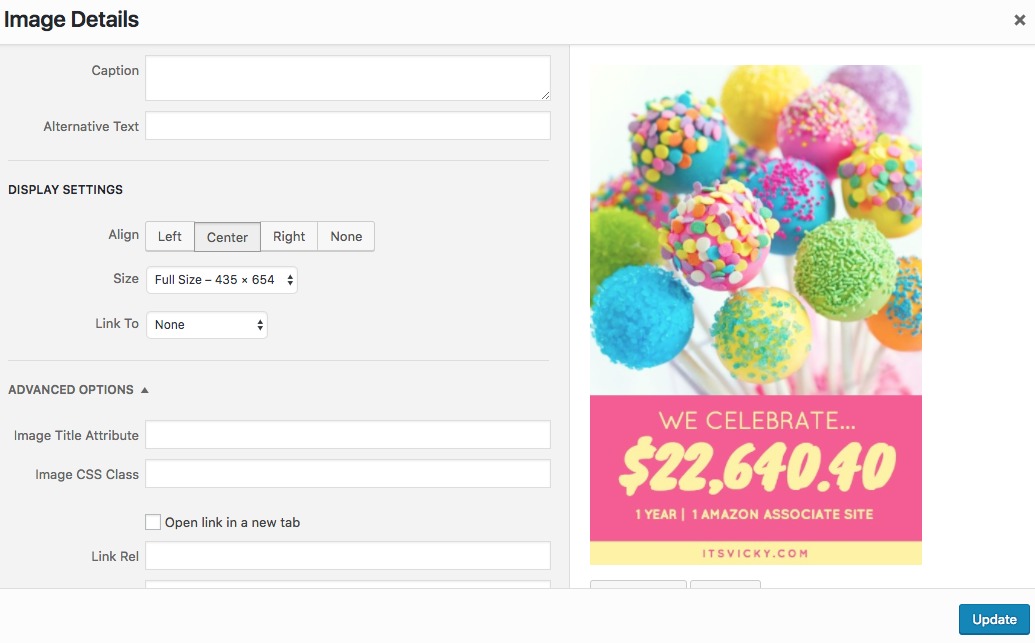
We can set the caption and alternative text. We can display settings, align the picture, set the size and where we want it to link.
We also have some more advanced features. We will implement our wanted changes here.
Add an alt text, align right, set the size to thumbnail and link it to the case study page.
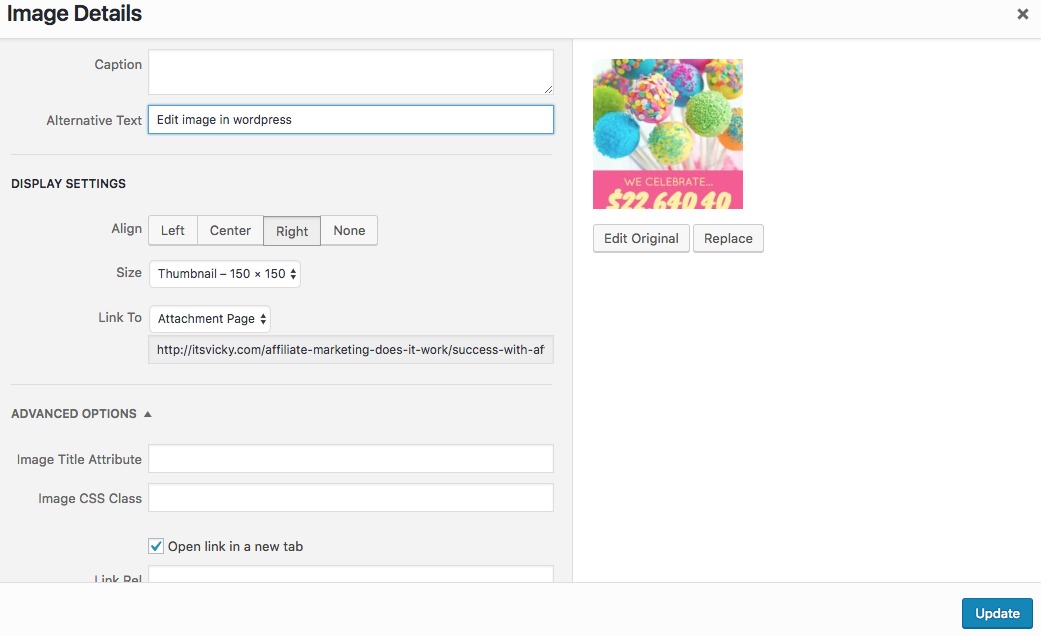
 You can see the result to the right with the changes we made to the picture. It is now aligned to the right with text wrapped around it. It is linked to the relevant page and made into the size of a thumbnail.
WordPress makes it easy to add images both to the media library and the blog post itself. Now with the drag and drop feature, it’s never been easier.
They also make it easy to edit the inserted images.
One last thing before we wrap this up…
How to Delete a Picture in WordPress
Delete an Image from a Blog Post.
Click the image and you’ll see the bar, clicking the x will remove the image from the blog post. This doesn’t delete the image from the media library but it will delete it from your post.

Delete an Image in Media Library.
If you want to delete the picture completely from your WordPress blog, go to Media Library.
Find the image file you want to delete and click “delete completely” this will take care of it and delete the picture from the media library and your WordPress blog.
That’s it for adding pictures to WordPress. I do want to leave you with one suggestion…
If you are new to WordPress, I suggest you take a look at this program.

They will walk you through the steps to get your blog up and running, how to get traffic to your blog and how to make money with it. A great program with a great community. 800.000+ members, that’s how big it is. Read my review and see if it’s for you!
I hope you found this helpful, How to Add Pictures to a WordPress Blog. If you have any questions feel free to ask below and I will be happy to help out.
Best of luck with your WordPress blog!!
Vicky


Leave a Reply